

The journey of building your own home can be grueling, but here is a short introduction on what to expect. Note that there are a lot of variables so this is a rough outline on what the process will look like.
Buy property
If you have capital, you can use this to purchase the lot. This will be the easiest as “cash is king” and the seller will most likely choose a cash offer over the other options. You can also wait to buy the property and use the construction loan to fund this, but this is harder to do if the real estate market is a sellers’ market.

Another item to ask the seller is whether the sewer and water tap fees are paid or not. These fees can sometimes cost up to $30,000 so it’s good to figure into the purchase. If you’re property is remote, these fees aren’t applicable. You will, however, have a leach field and won’t be connected to a sewer system, which can cost quite a bit to implement. You’ll also be on a well for your water, so make sure to get that inspected to ensure the lifetime of it. Re-drilling for more water can also be quite costly.
Lastly, determine if the property is governed by an HOA or not. An HOA is great for maintaining property value but can be burdensome to deal with. You’re likely to pay more for the build due to the design restrictions and have HOA dues.
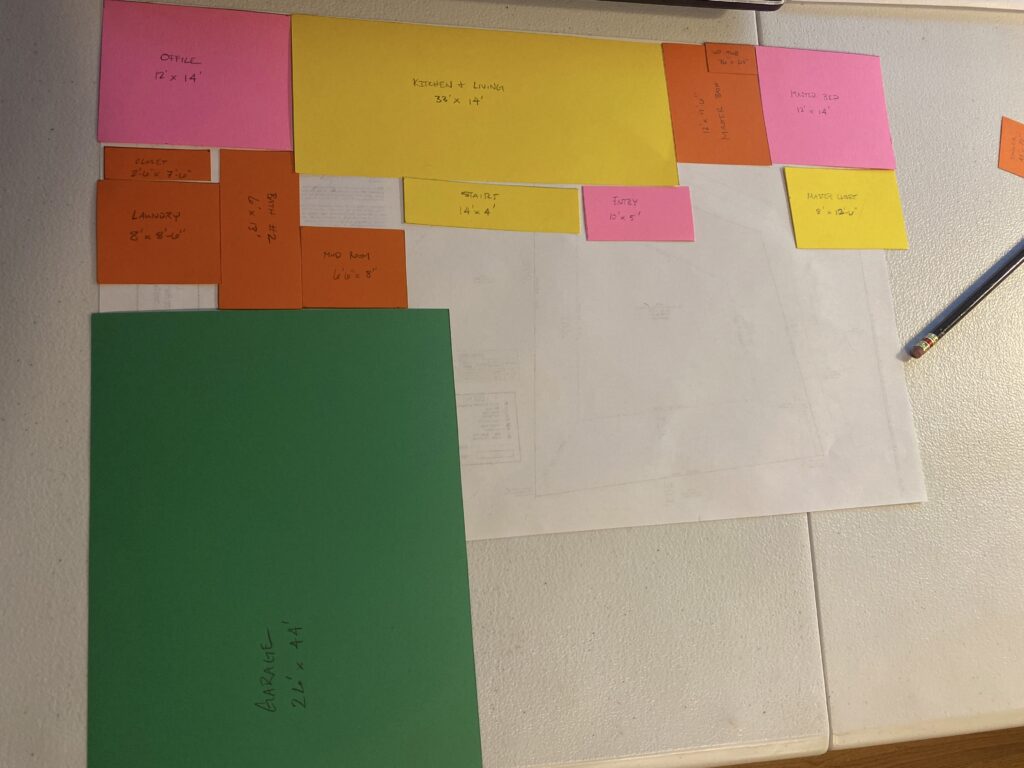
Determine general size and design of house
Have a REALISTIC budget in mind…
Getting the size of the home, deciding on the level of performance of the home (the more high performance = less utility bills for the lifetime of the building) and getting a general $ per square foot will be needed before pursuing funding.
Note that the $/SF varies drastically depending on your location, level of performance of the home a/o expensive finishes. This number can range anywhere from under $70/SF to over $900/SF. Seriously, the gap is real!
Also note that the $/SF price only pertains to the finished livable floor area. Garages and unfinished basements will not be included in the floor area calculation. At our build, the garage is larger than the finished livable floor area AND we have an unfinished garage, so the $/SF is skewed as it is much higher than if we just built the finished livable floor area.
Get a Soils Test
Know what’s underneath the proposed build!
Soft soil? You may have to install piers.
Rocks? You’ll be spending money to dig or blast into this.
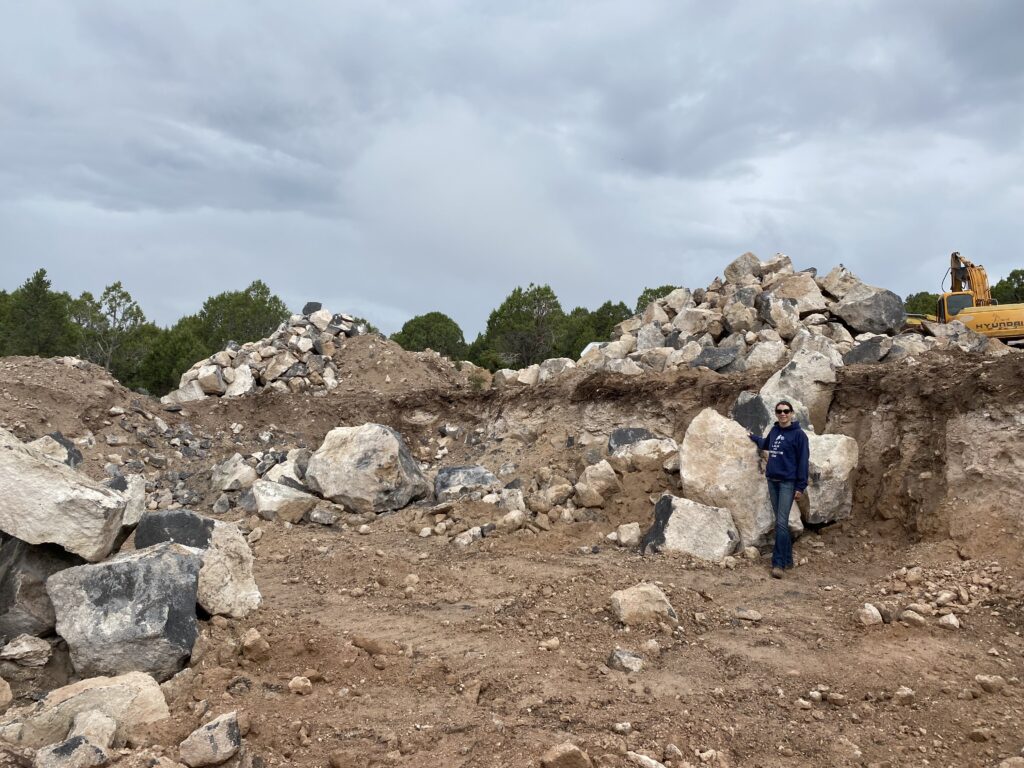
This test is also usually required by the structural engineer for them to formulate, finalize and stamp the structural drawings.
Find an Architect / Engineer
The design crew is the first part of the project team. You may not need an architect if you choose to use a plan set that you find online, but note that if you go this route, you MUST have details that show the proper insulation type and amount as well as details that show the transitions in materials. Also, you will need to find someone that will draw the structural drawings based on the soils test. Typically, an architect can cost anywhere from $10k to over $40k. A stamped set of architectural drawings is very rarely needed for a building permit.
A lesson learned:
A structural engineer OR a registered architect can stamp the structural drawings.
An engineer CANNOT stamp architectural drawings.
Get funding
Unless you have a ton of cash laying around, you’ll need to get a construction loan for your project. There’s a great article here that dives into the different types of loans and applications.
The top factors in choosing which loan you’ll use will decide on what you’re eligible for as well as the interest rate, payment timing (during the build or after) and how easy can you roll the construction loan into your mortgage payments.
Find general contractor (GC)
The GC is key to a successful project. Get some referrals from others you may know that have built a home (and were happy with the experience) or ask anyone you may know who works in the construction industry if they have any leads for companies. You can also do a Google search for companies in your area but having a personal connection usually is a better bet.
Get their insurance and bonding information; the bank will need this as well.
You should interview a few GCs that you pick out. Get information (or even check out in person) some of their past projects and perhaps talking to some references would also help.
If you’re handy and have experience in construction, being an “Owner-Builder” is an option as well. This means that you are your own General Contractor and you will be the one managing the subs, the budget and the schedule. Essentially, it is a full time job. For our build, we were our own General Contractor. My partner and I both grew up in the construction industry, have degrees in Construction Management and a lot of experience and we still had a hundred lessons learned from our build.
Get permits

Unless you’re out in the middle of nowhere, you will most likely need to pull a permit from the local jurisdiction. This will be either a City, Town or County. Find out who you need to get a permit from, visit their website and get the information you need for the permit submittal.
Items you’ll most likely need for this submittal include the following:
Drawings
Don’t forget the structural drawings will need to be stamped by an engineer / architect.The list of items needed by the jurisdiction should be listed on the website. If they’re not, call them and see what they expect so that you don’t have to keep updating the drawings.
Soils Test (if building outside of a central district)
A soils test should be done prior to the design of the building to see what type of ground you’re dealing with.
Survey
A survey shall be performed by a surveyor. Typically, you can find a copy of the lot’s original survey
Energy Paperwork
This could be anything from a HERS Rating, Energy Star Certification, etc.
The Permit Application Form and Plan Review Fee
Again, this should be on the jurisdiction’s website and the fee is usually paid prior to permit issuance.
Sewer and Water Tap Fees
As mentioned above, know whether the lot has these tap fees paid already or not. Or if you’re building rurally, be prepared for the cost of installing a leach field and get an inspection on the water well.
The build!
Disclaimer: Building a house is quite stressful and you will lose sleep and possibly sanity BUT having a good crew (architect, GC, subs) will help with this process.
Remember to remind the crew the guiding factors for the build… these factors can be anything from energy efficiency, healthy indoor air quality, connection to nature, budget, etc.
The GC will manage the subcontractors, the budget and the schedule. This is a huge role and I’ll dive into this on a later blog post, but essentially, setting up a monthly meeting (at the very minimum), with the GC to cover any changes in design (which directly correlates to the budget), impacts to the schedule and a general update on progress, will be needed.
Get the Certificate of Occupancy and enjoy the place
Once you acquire the Certificate of Occupancy, as referred to as the “CO”, you are able to close out your construction loan and move in!