
Have you ever thought of pouring your own concrete countertops? This method not only provides a very custom countertop, but it’s quite cost efficient and very durable.
Some items to consider include WHERE you are pouring the countertop, the WEIGHT of the countertop and the FINISHING of the countertop. We will also talk about the process step by step from a recent project. The process will walk you through the process, from building the forms to pouring and finishing the concrete.
Where to pour / location –
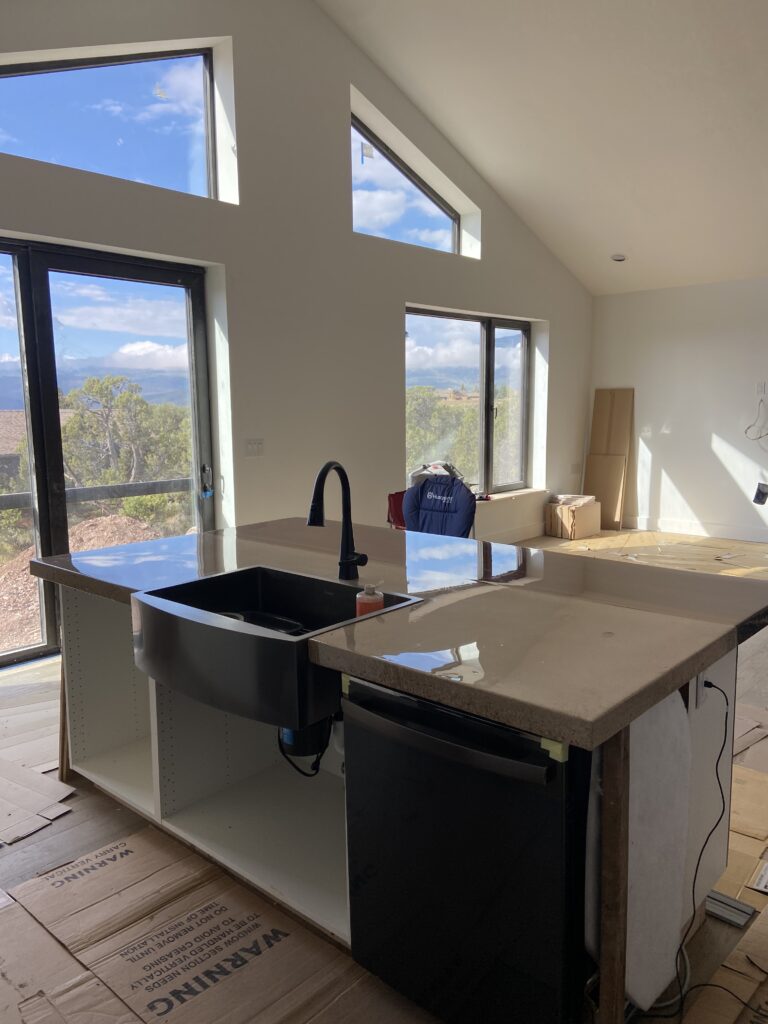
One of the first questions to ask is where you want to pour the countertop. You can either pour the countertop in place (in your kitchen) or pour it in another area (i.e. garage) and bring it inside.

Advantages of pouring in place:
- It’s not moving. You don’t have to move the countertop because it’s where it will be for a very long time, if not forever!
Disadvantages of pouring in place:
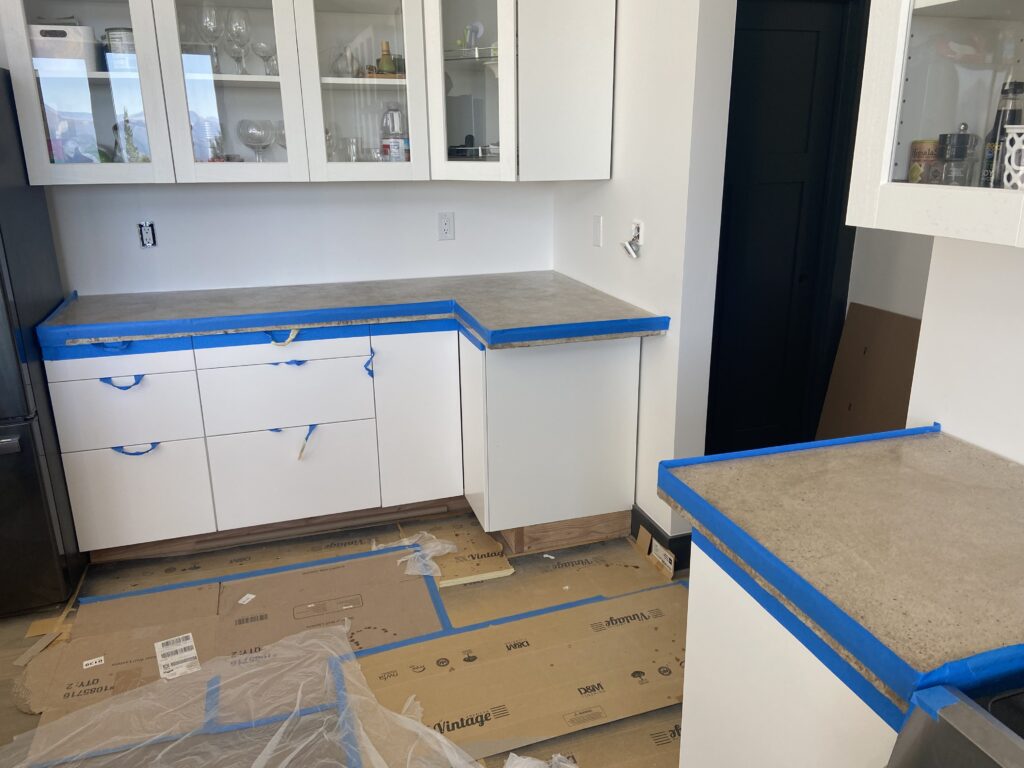
- It’s messy. Finishing of the countertop can be troublesome if the house is finished. The first step in finishing the concrete countertop consists of buffing it, which brings a lot of water and concrete into the air and all over the floor, cabinets, etc.
Advantages of NOT pouring in place:
- It’s cleaner. You can finish the countertop in the garage and not worry about the mess and debris that is associated with this step.
Disadvantages of NOT pouring in place:
- Muscles needed! Concrete countertops are very heavy and bringing a countertop from one place to another is quite cumbersome.

Weight –
The next consideration is the weight of the countertop. The countertop will sit on top of cabinets so you want to make sure that the cabinets are able to sustain the weight of the countertop. You want the countertop to be strong so that is why rebar is encouraged, but it also adds weight. There are other alternatives that I will discuss that will get you the strength without the weight.
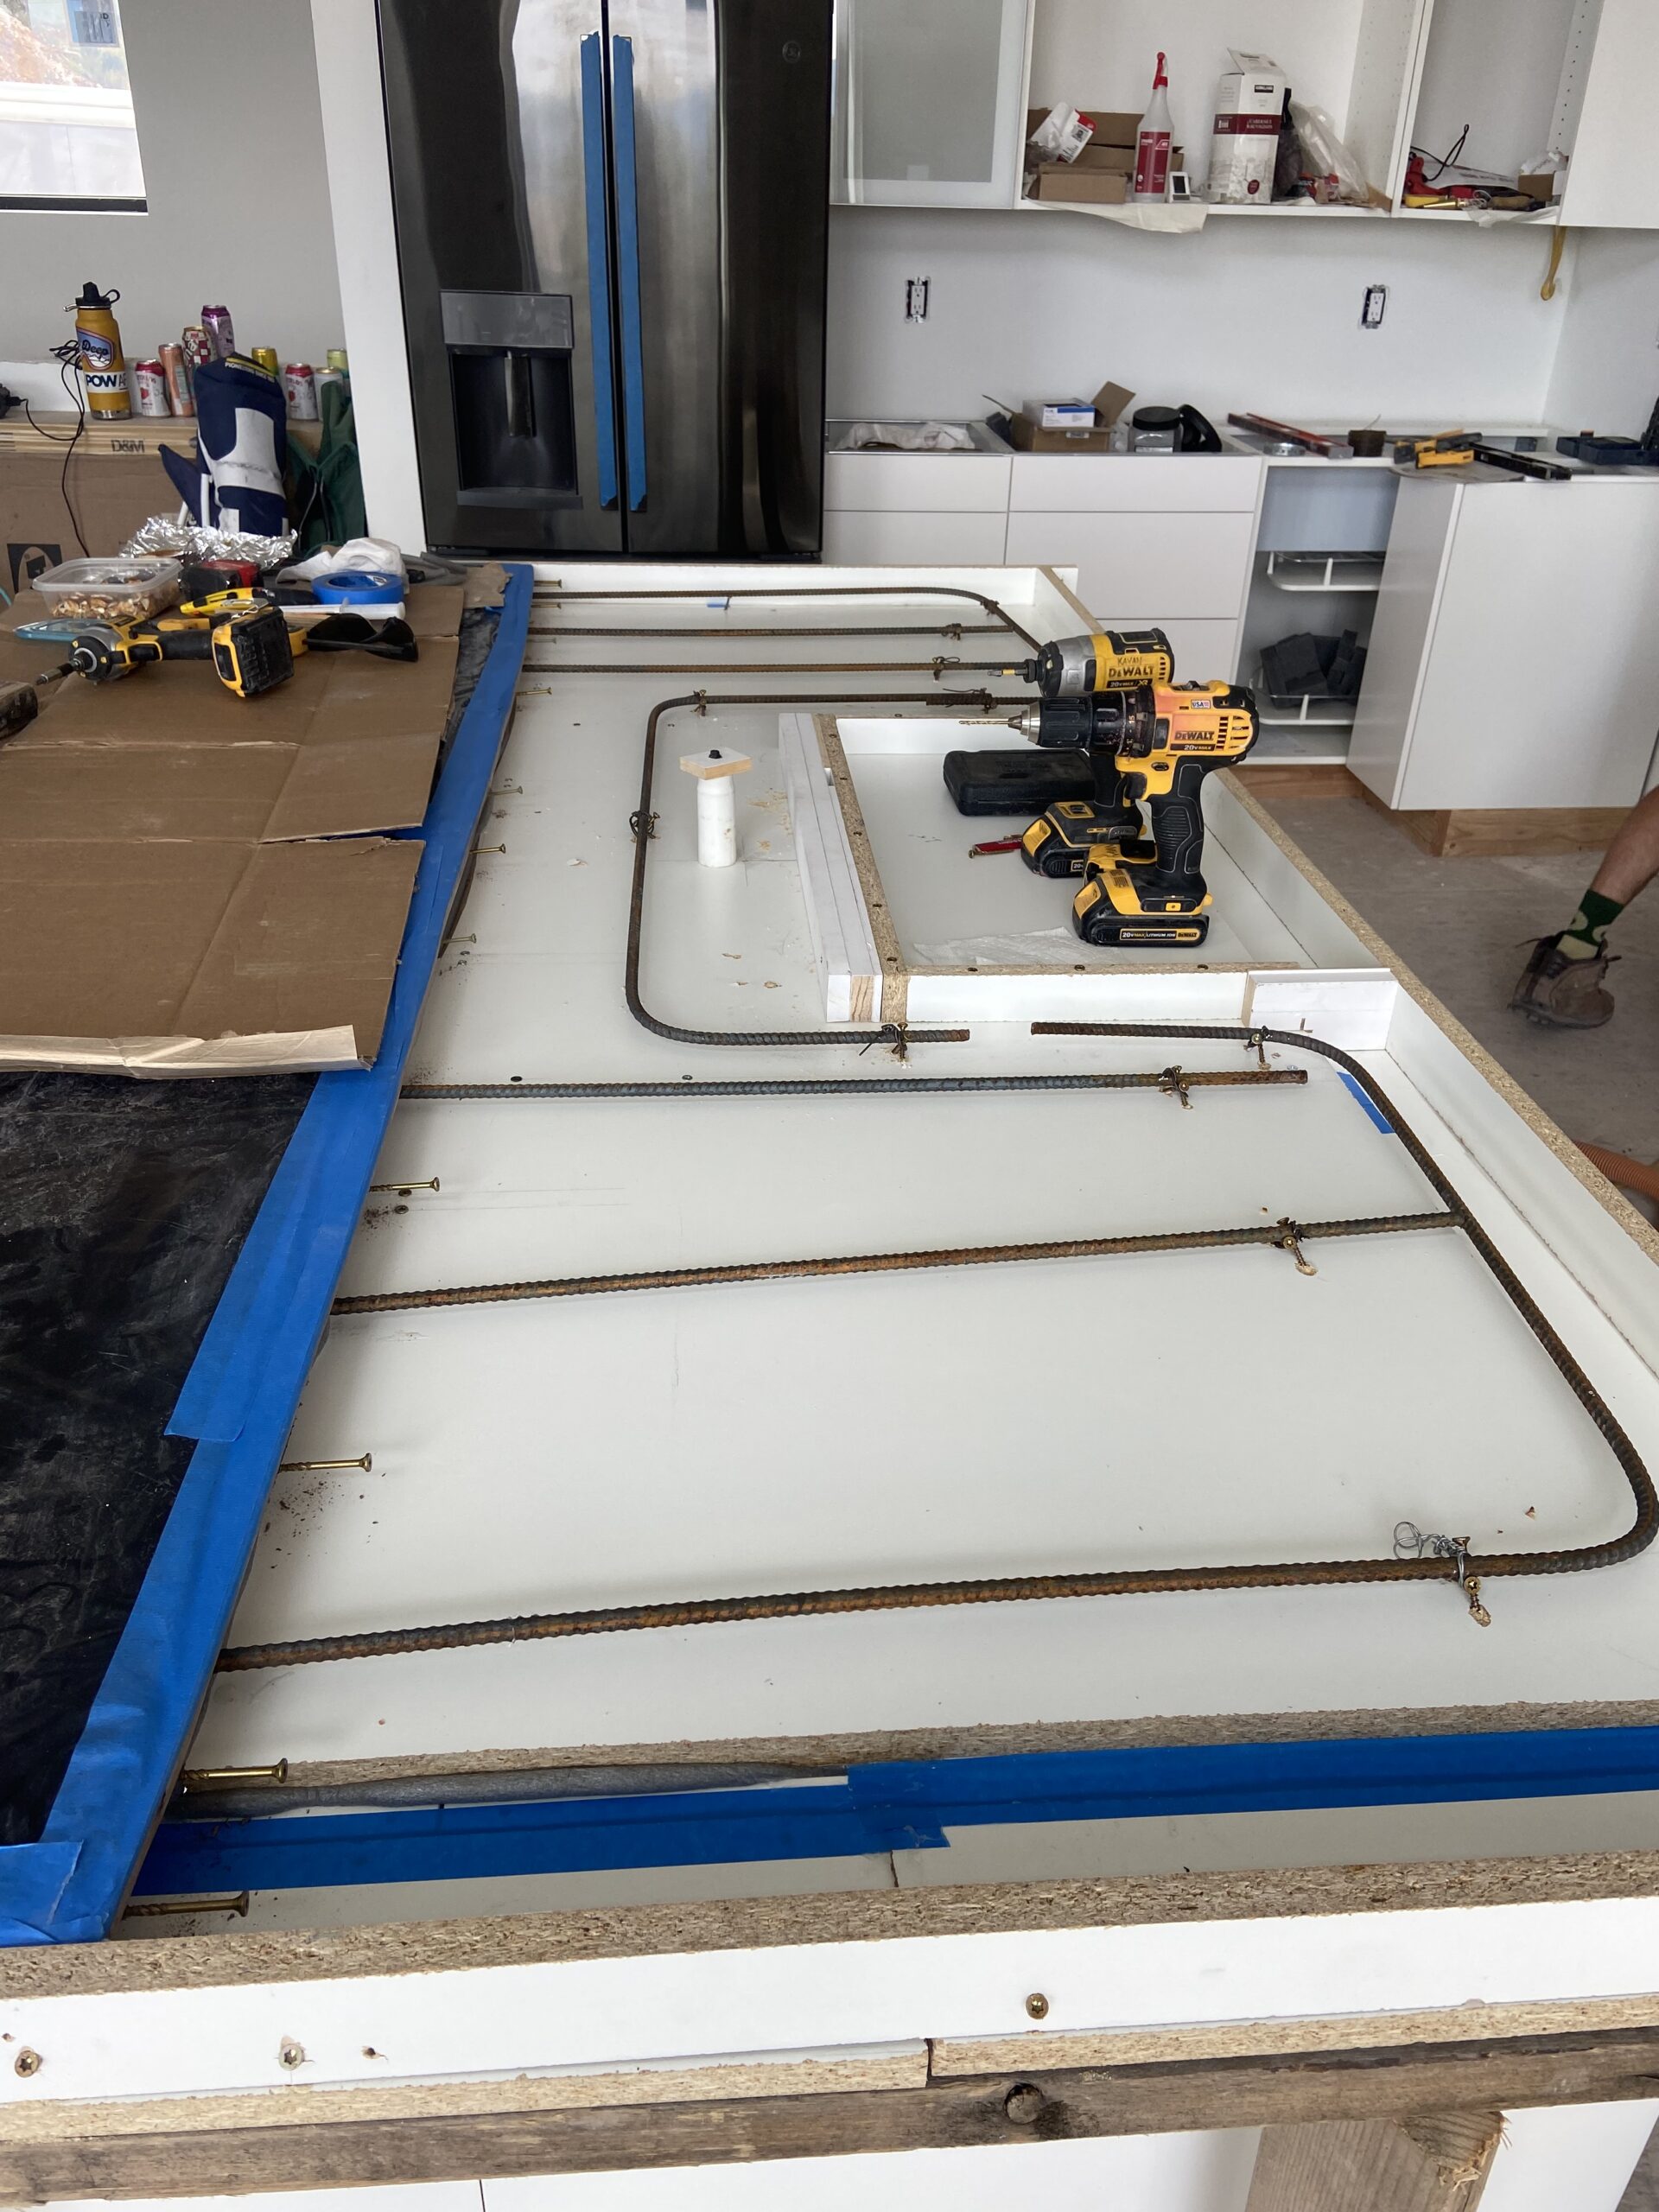
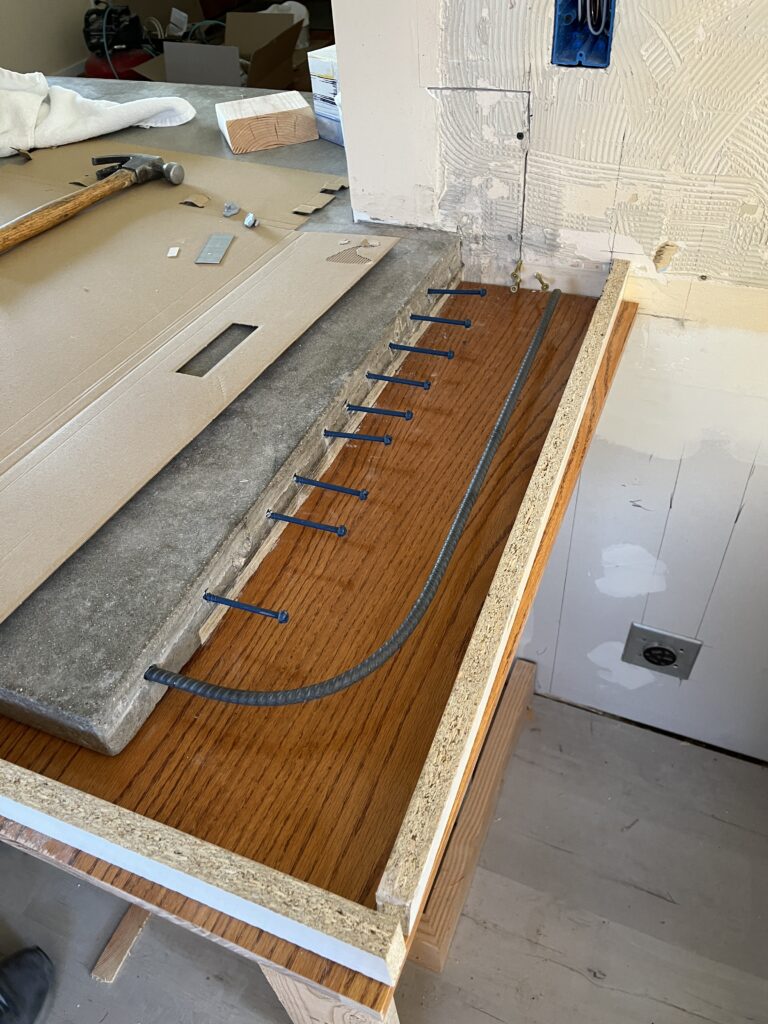
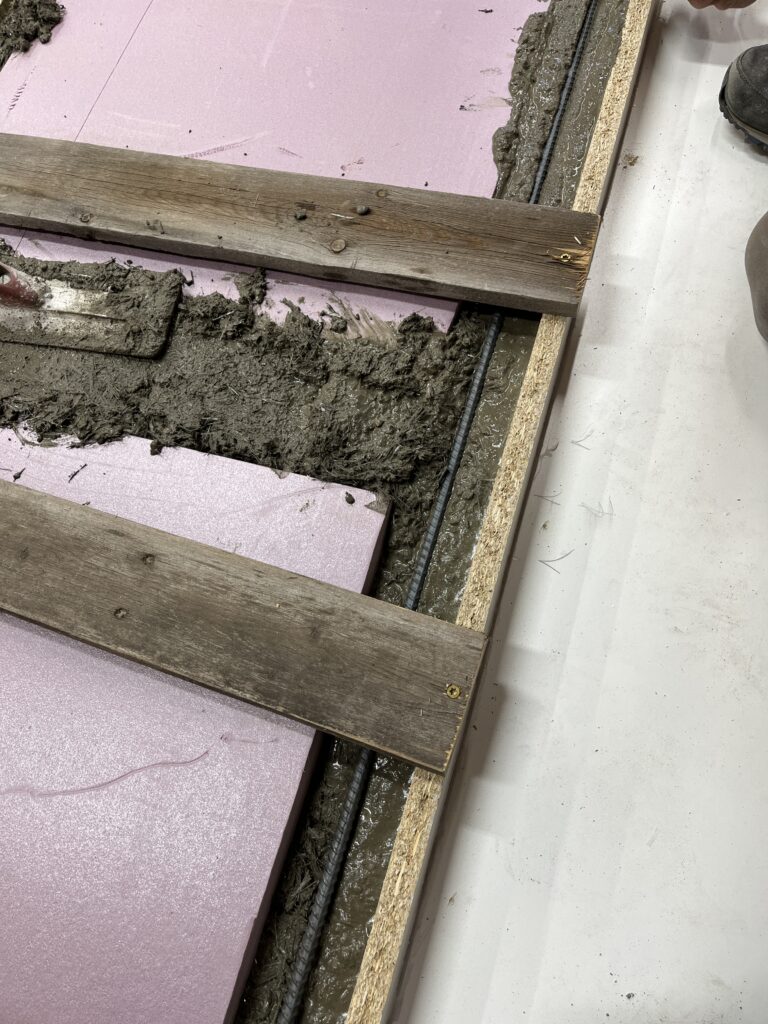
- Rebar, at a minimum, is recommended for the edge of the countertop and at any openings, such as in front of a drop in sink.
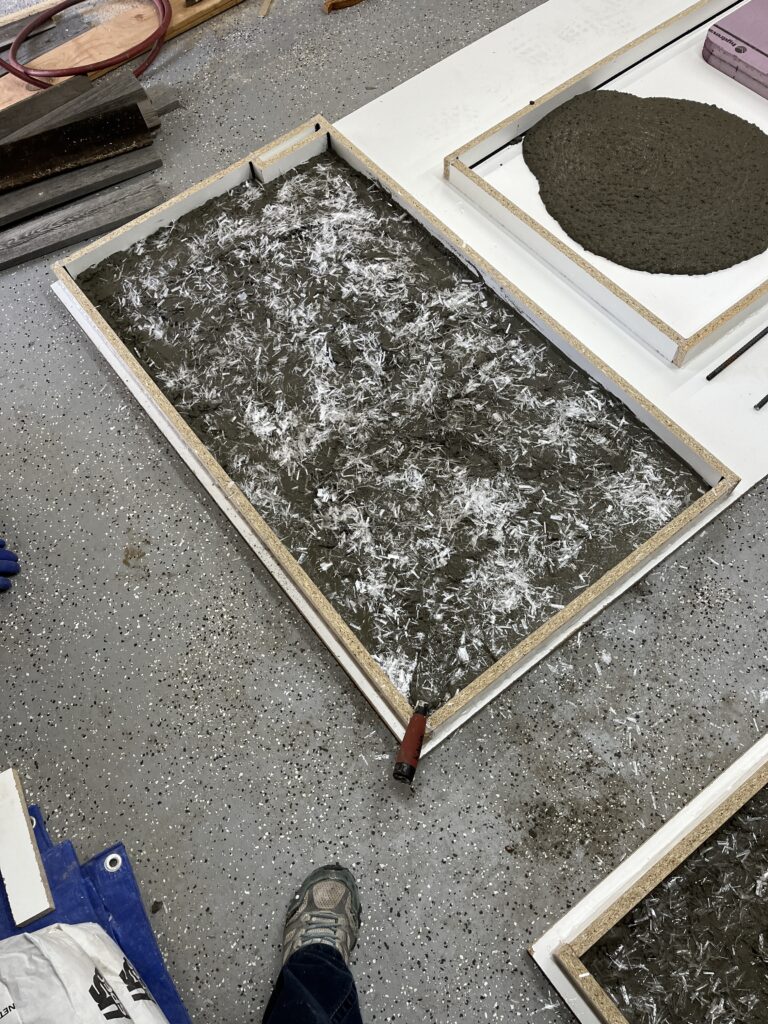
- You can include flakes in the concrete, which will add strength without the weight. In this particular concrete pour we used the Sika Fibermesh 300.
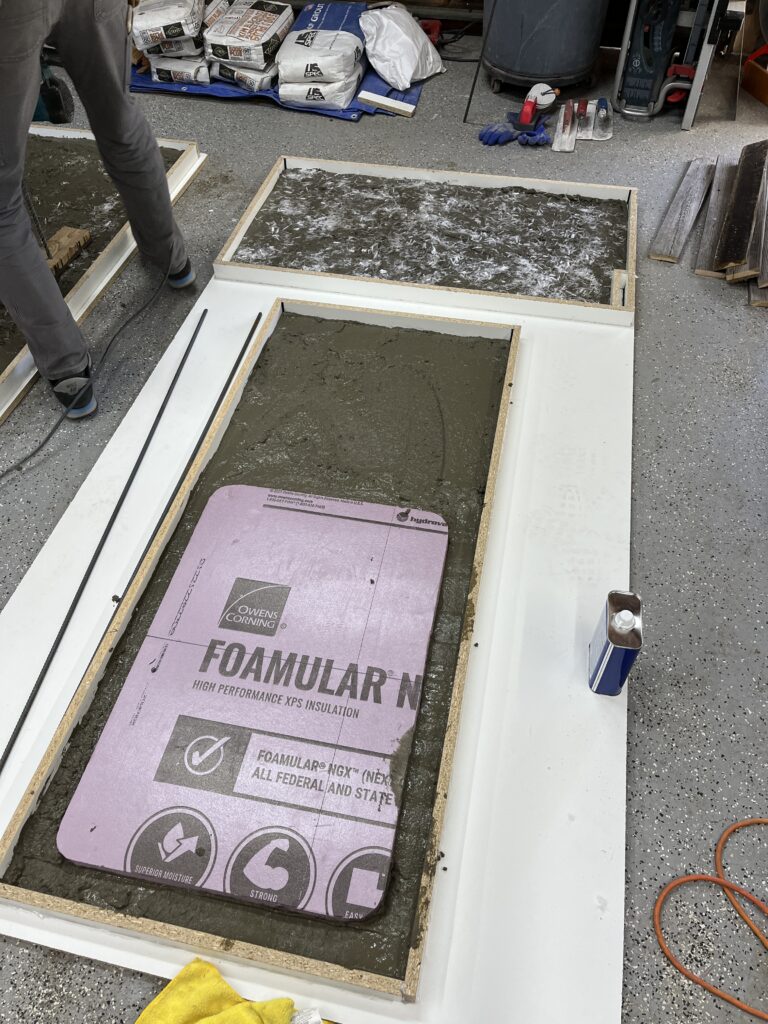
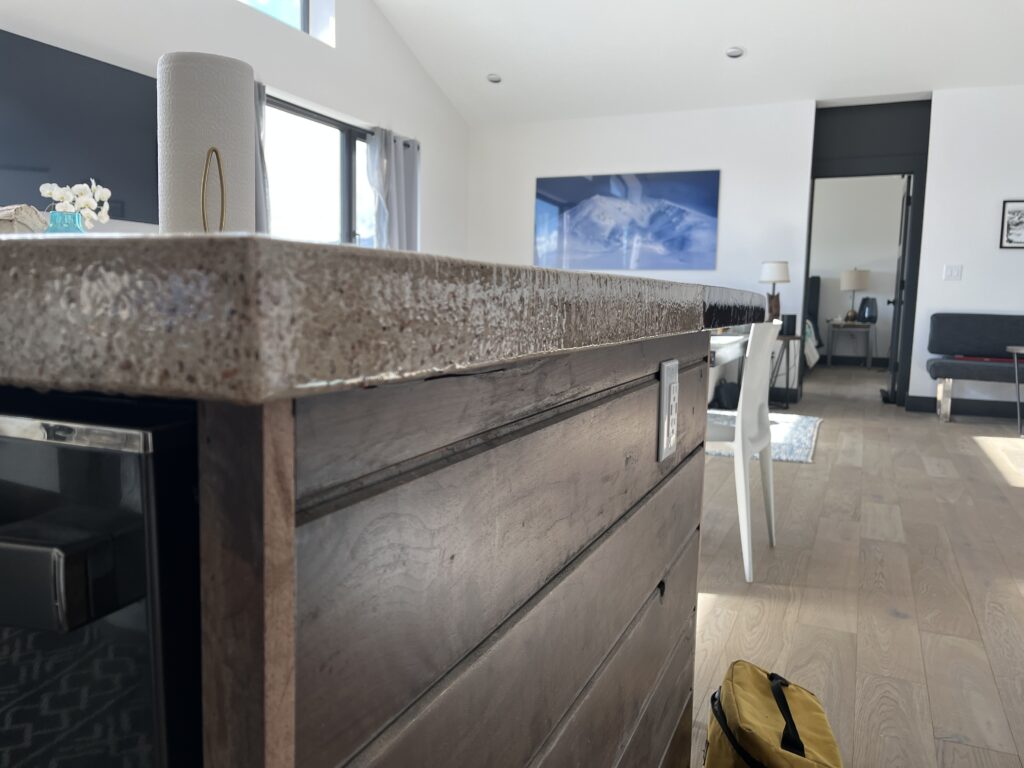
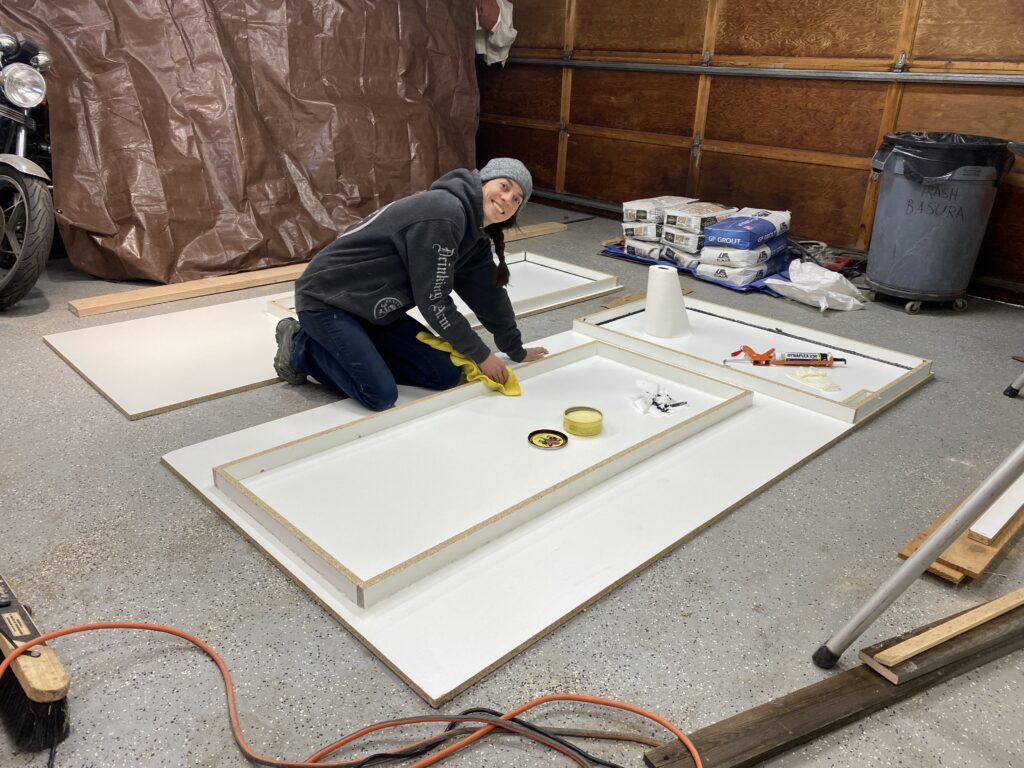
- Another method used to reduce the weight of the countertop, is to thicken the edge, but reduce the size of the actual countertop. Some pictures are shown below. Note that we used foam while we poured to displace some of the concrete. The edge, however, looks like it is a very thick countertop.

Finishing –
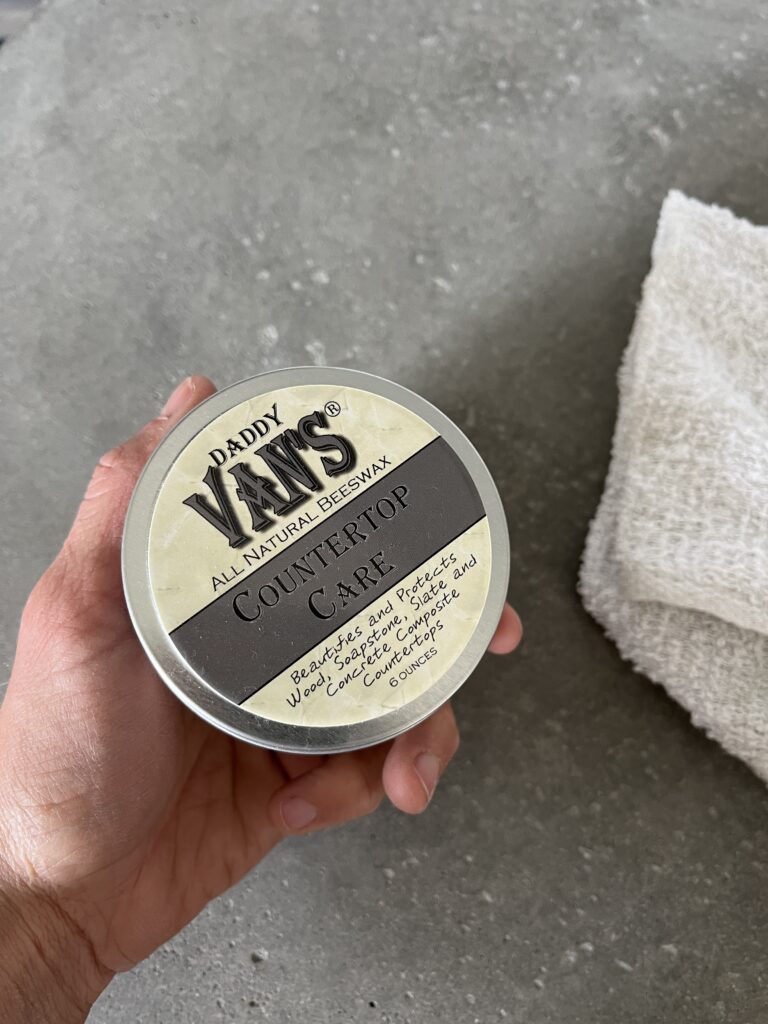
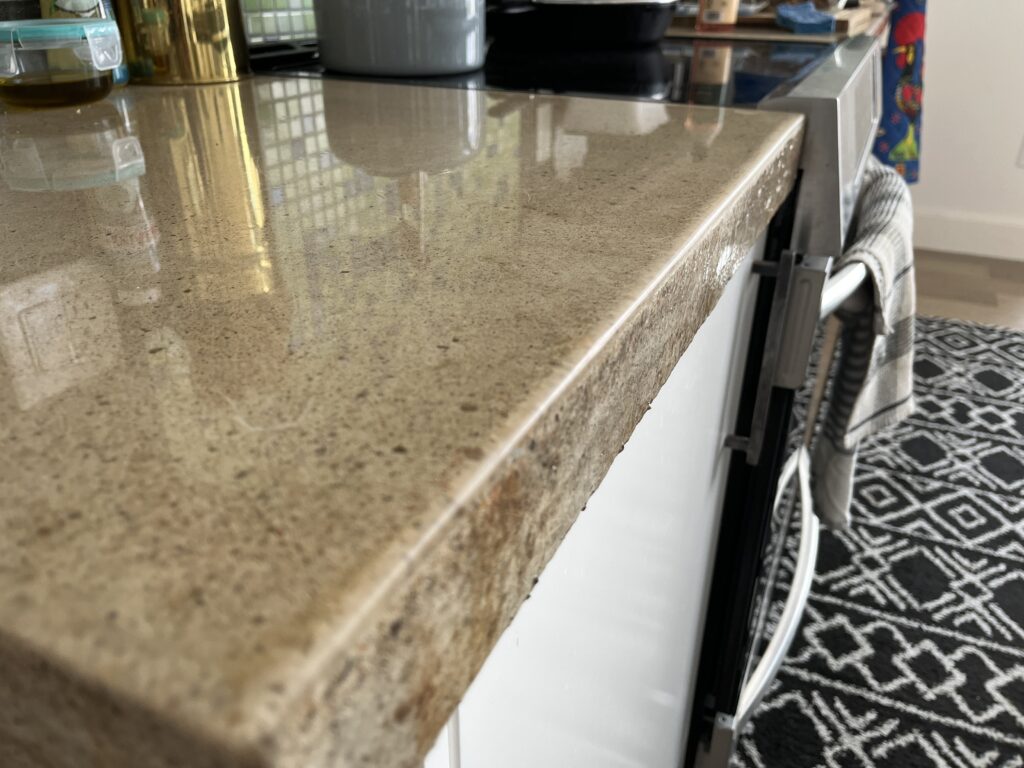
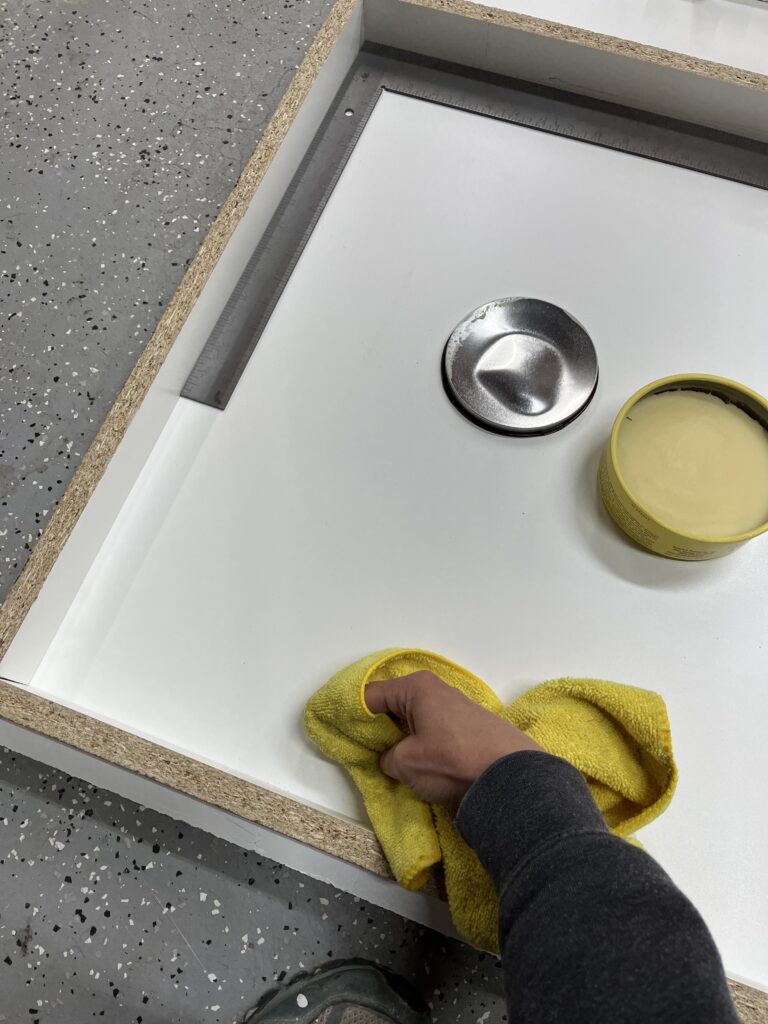
- Oil – Using oil maintains the natural look of the concrete. In our example, we used Daddy Van’s All Natural Beeswax Countertop Care and gently rubbed the oil into the surface. We did about two coats. This maintains the natural look of concrete while adding a protective layer that’s natural. Note that this does require re-coating after a while.
- Epoxy – For epoxy, make sure you find a type that is somewhat resistant to heat and suitable for this application. Some epoxy coatings are quite soft and a hot pan or pot will melt it. We ended up using Promise Table Top Epoxy because it had a higher resistance to heat than many other options, and was also affordable.
- You will most likely need to pour two coats of epoxy. Epoxy bubbles, so we used a blow torch sparingly to add heat to pop these bubbles. When using the torch, keep it about 12″ over the epoxy and continuously move it. If it stays in one place for too long, it will just add more bubbles.
- Edge Detail – You have the option to either have the epoxy run over the edge or you can dam the edges just pouring the epoxy on the top surface and finishing the edge later with a sponge brush. If the damming option is chosen, the edge will be quite sharp when you remove the dam and you will need to sand this down after it dries.
PROCESS –
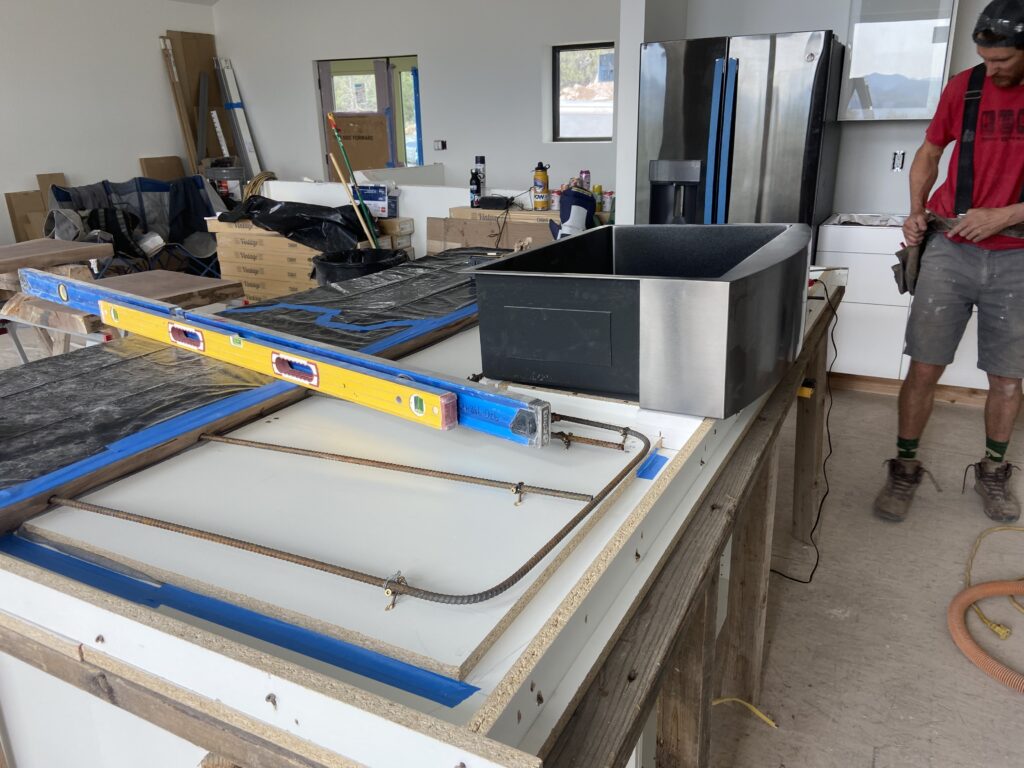
Forms –
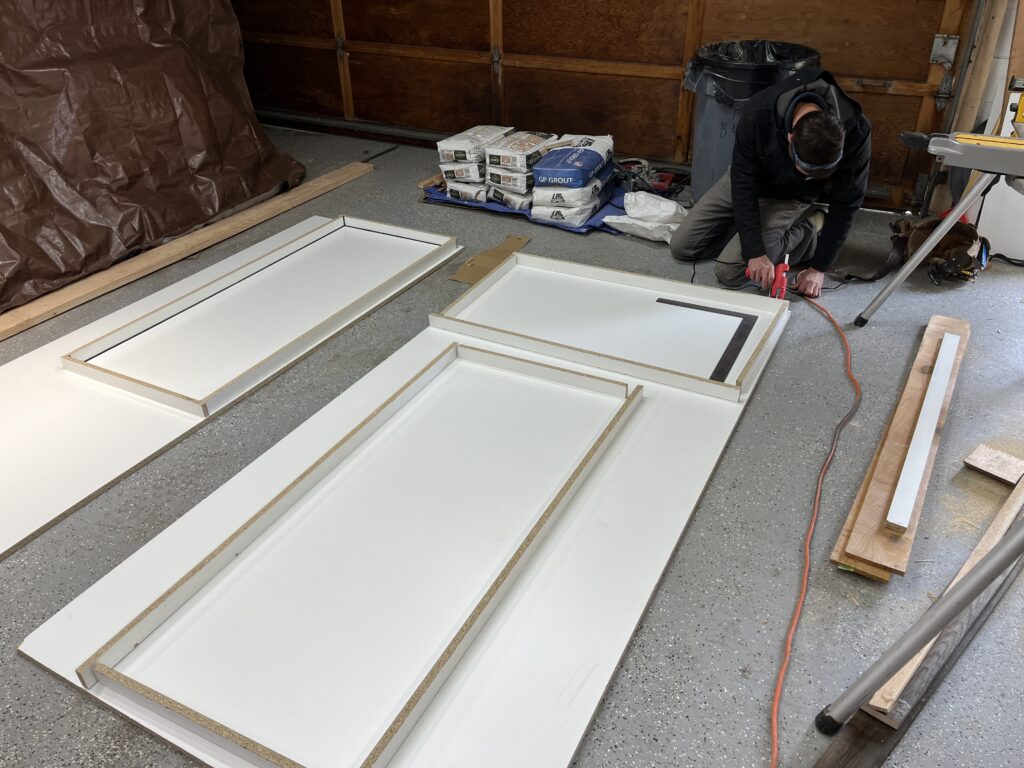
- Pouring In-place – you’ll want to use a material like melamine, that is both sturdy but won’t stick to the concrete.
- Pouring Outside – Again, melamine is the preferred form material.
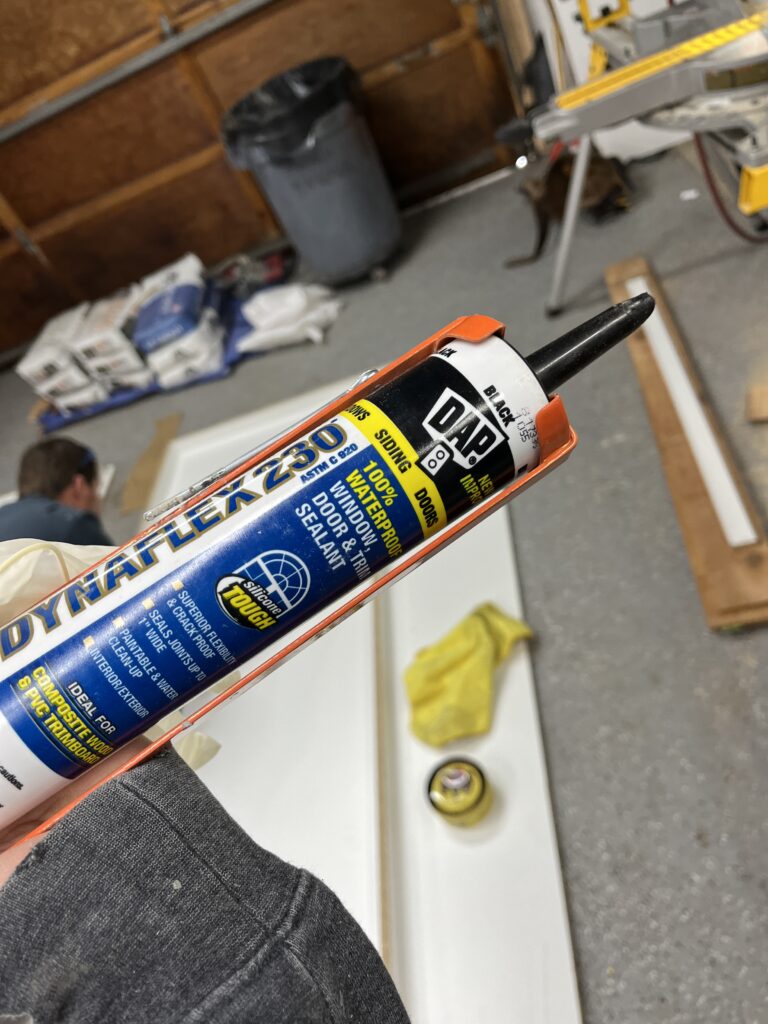
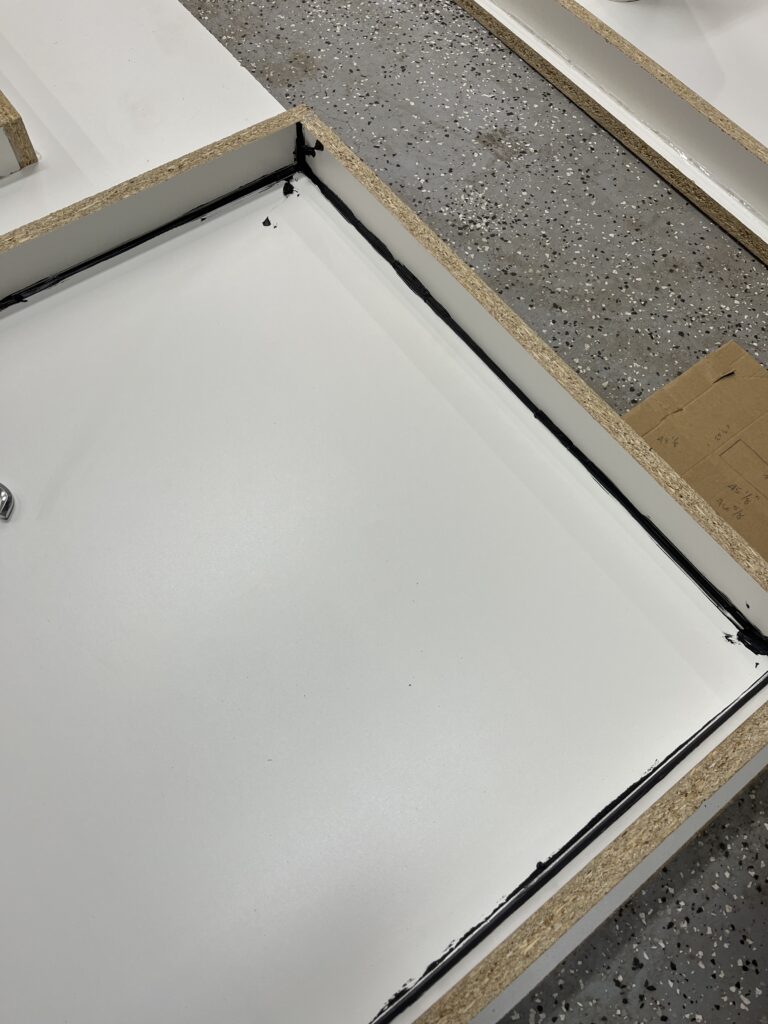
- You’ll want to run a bead of silicone around the edges so that you don’t have a 90 degree corner at the edge; you’ll have a curved / smoother edge.
- Line the melamine with a wax to ensure the concrete won’t stick to this when you remove it from the forms. We used Howard Citrus Shield Paste Wax.
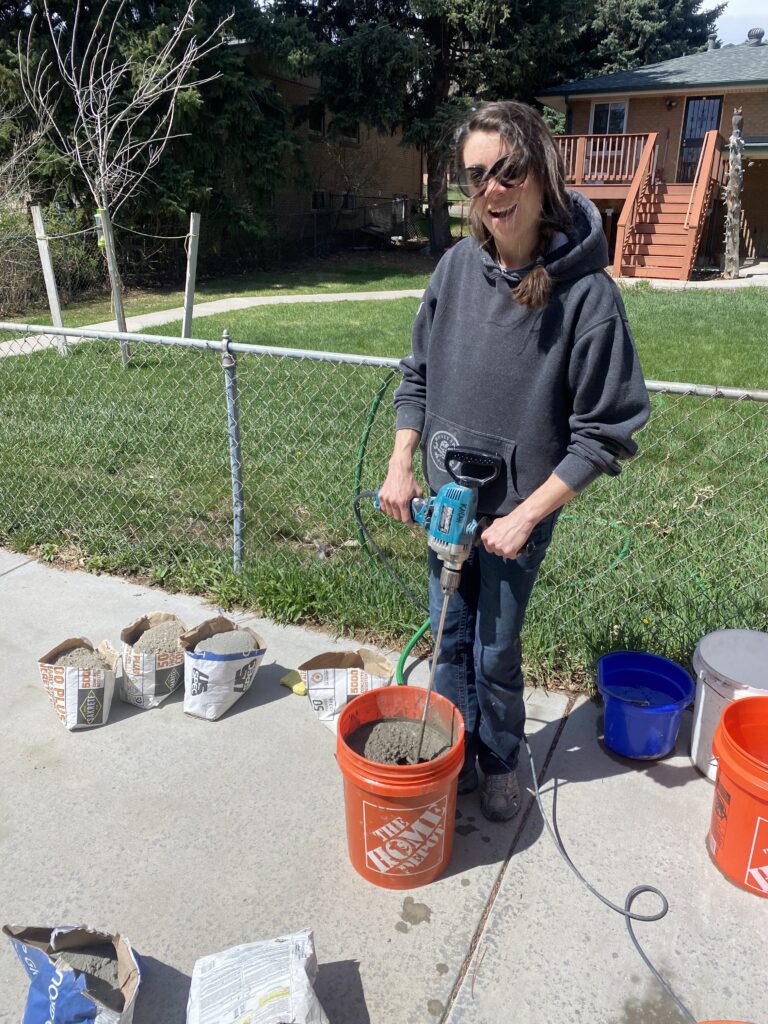
Concrete –
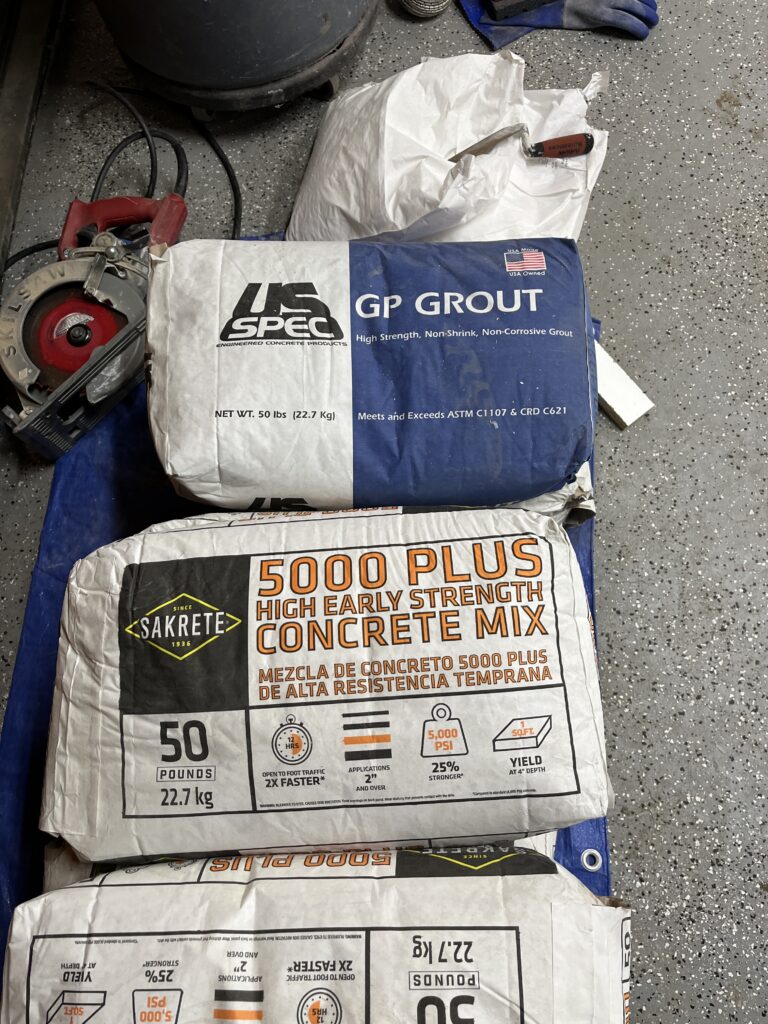
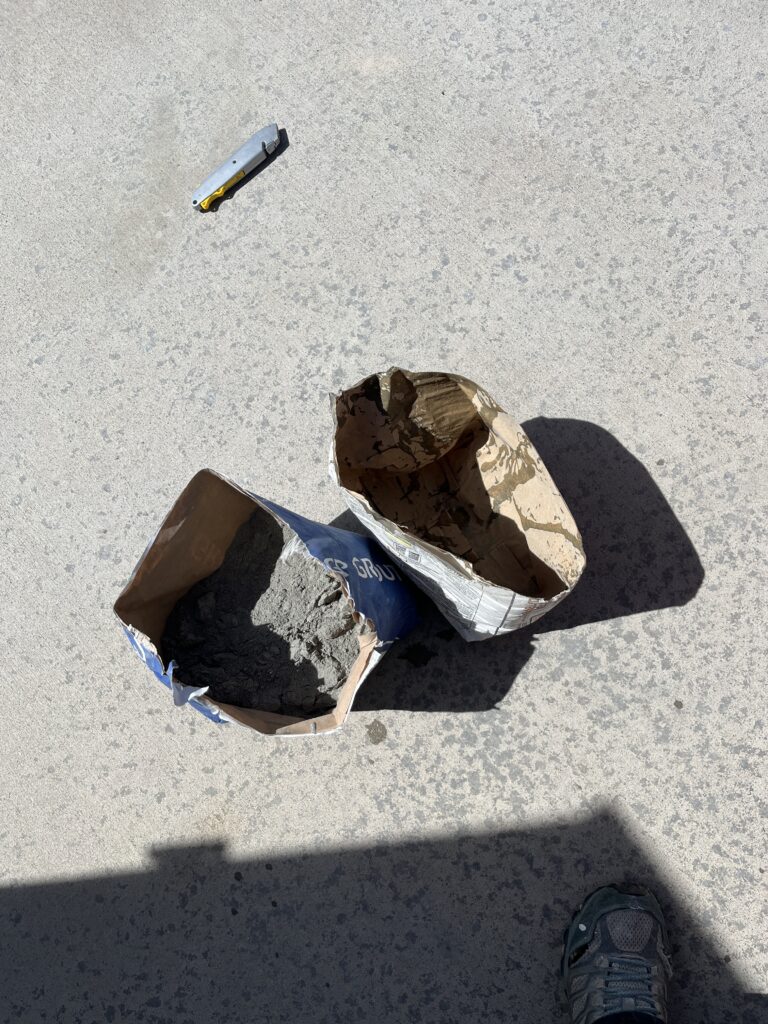
- Mixture – We used a mix of Sakrete 5000 Plus Concrete Mix and CP Grout, mixing about 75% of the concrete mix with 25% of the CP Grout.
- Only mix what you need; we mixed ours in 5 gallon increments.
- Pour a thin layer of concrete in the forms, about 1 to 2″.
- You’ll then want to add the fiber mesh or rebar.
- Vibrating the concrete – this is useful to get all of the voids out of the mix. Just a few seconds in different areas is sufficient.
- We used a 2×4 block and a hammer drill for this procedure.
- After the mesh / rebar and any foam (for sink blockouts) is installed, you can repeat the process.

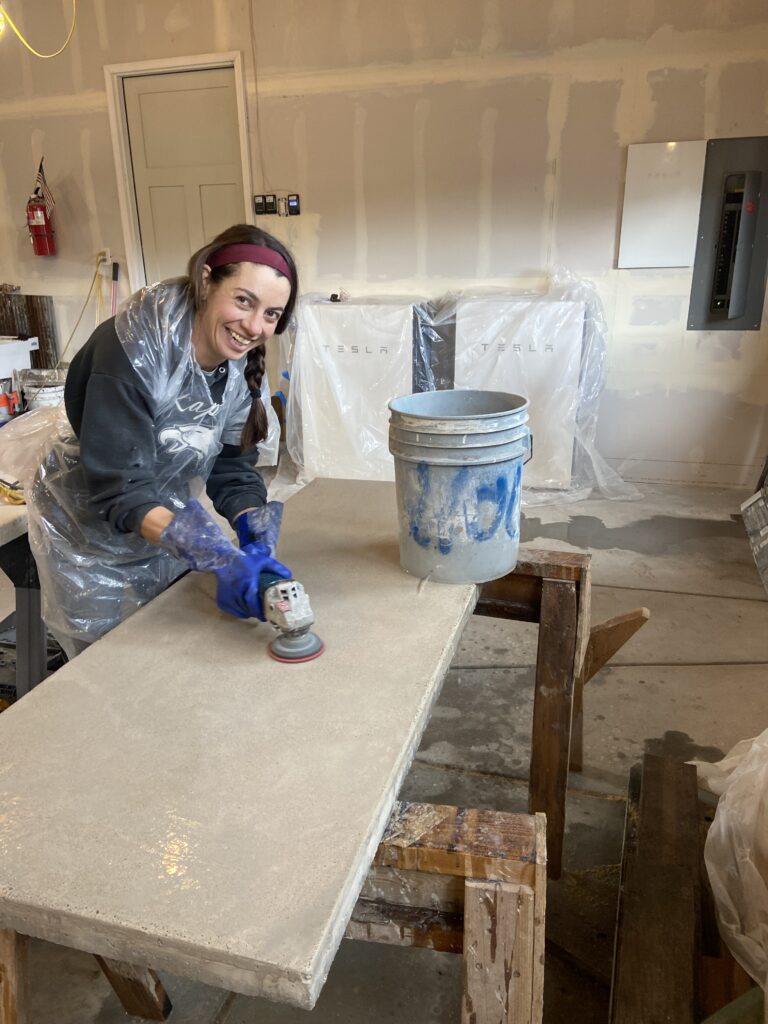
Polishing / Finishing –
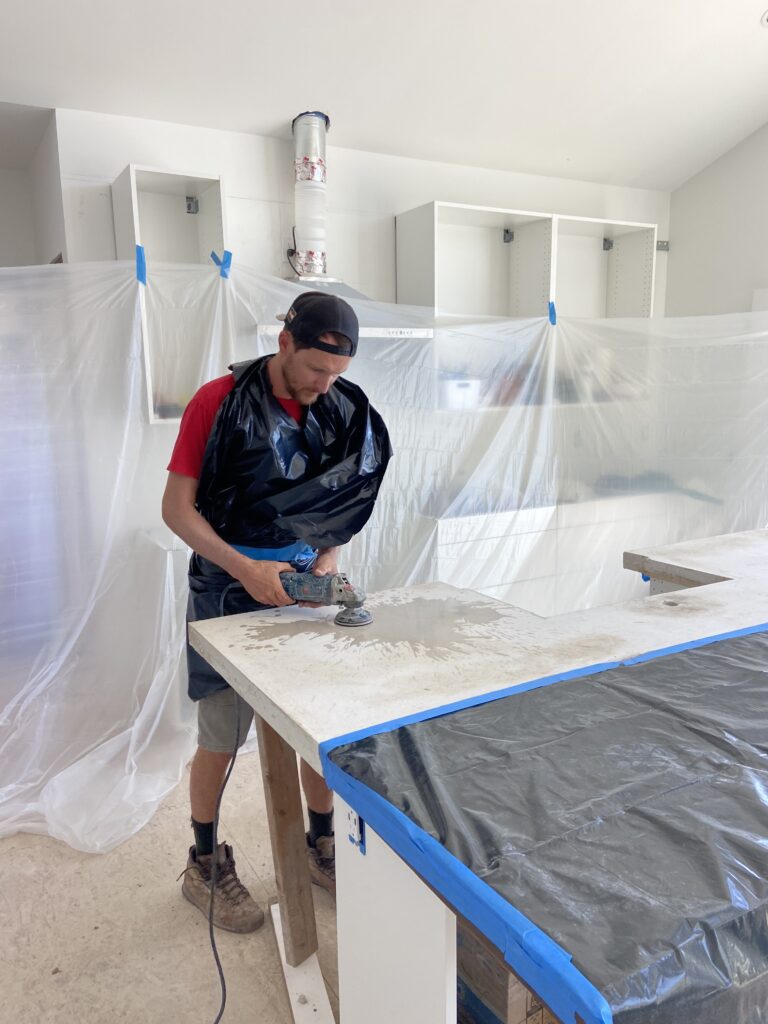
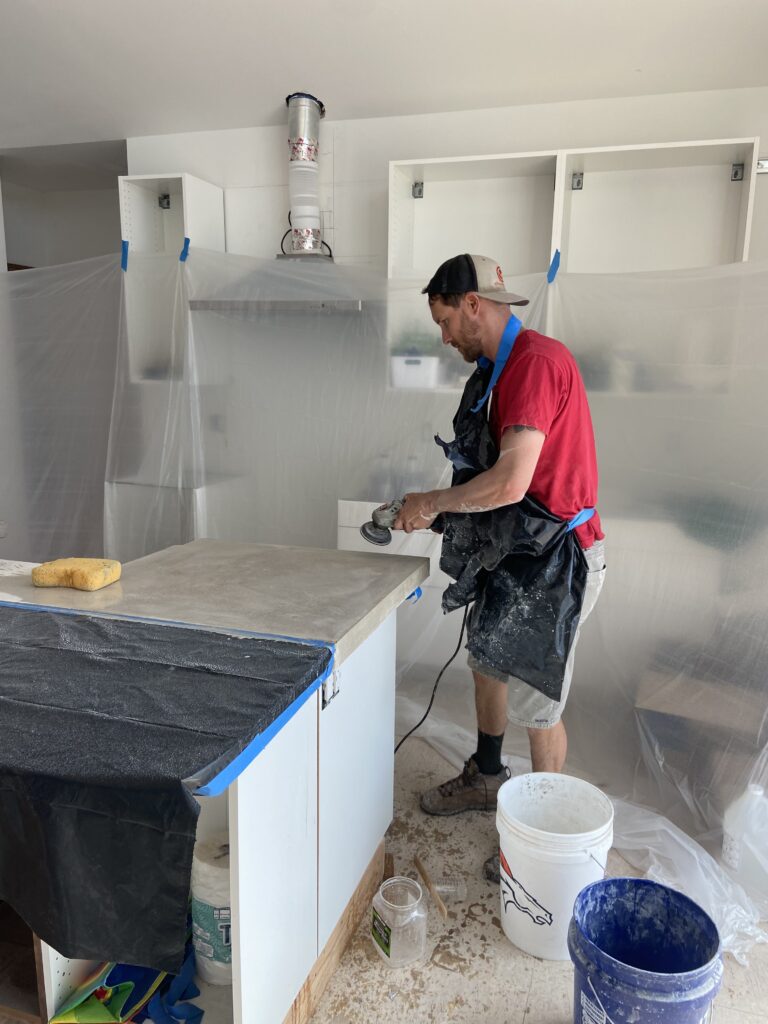
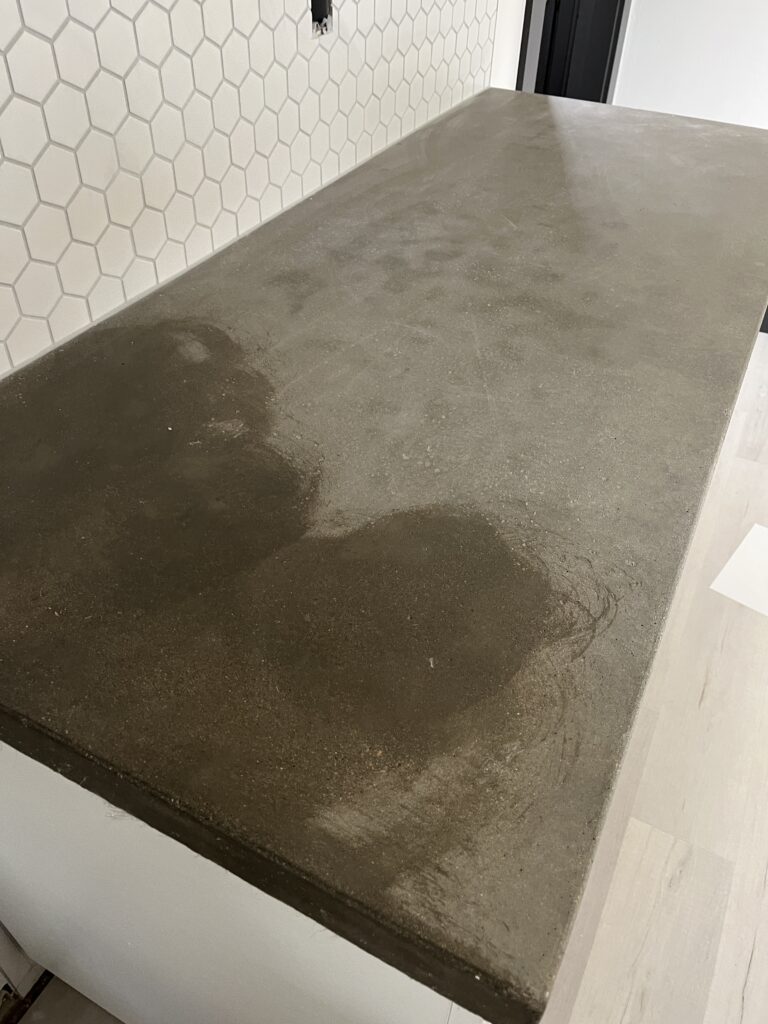
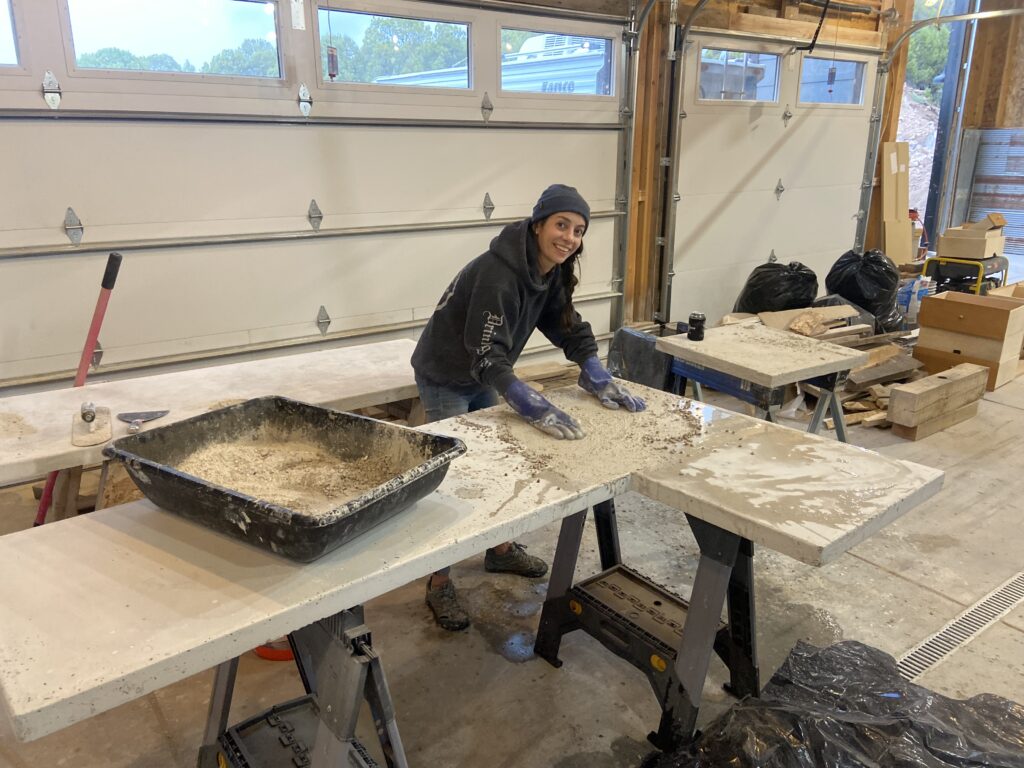
Now you’re ready to finish the countertop! To prepare the surface for either oil or epoxy you will need to buff the concrete. This can be done with an angle grinder with polishing pads. We used the Makita angle grinder and assortment of polishing pads for our project. First, wet the concrete a little using a bucket. You start with the coarser pads first and work your way up to the finer pads. This is a very messy procedure so if this is done in a finished building, you will need to tape off the cabinets, walls and floors if possible. It is also important to keep the concrete wet, so occasionally pouring water on the surface as you buff it is very helpful.
After you work your way through to the finer-course pads, the countertop is ready to be finished! Concrete is porous so you want to create a protective layer so that it does not stain easily. Earlier, we discussed using a beeswax oil as well as epoxy.
We discussed WHERE to pour the countertop and the pros and cons of pouring the countertop in place versus in another area. We also discussed how to mitigate the WEIGHT of the countertop by using less rebar and actual concrete by instead using flakes to strengthen the mix. And lastly, we discussed the finishing options of using oil or epoxy and the edge detail associated with different epoxy applications.
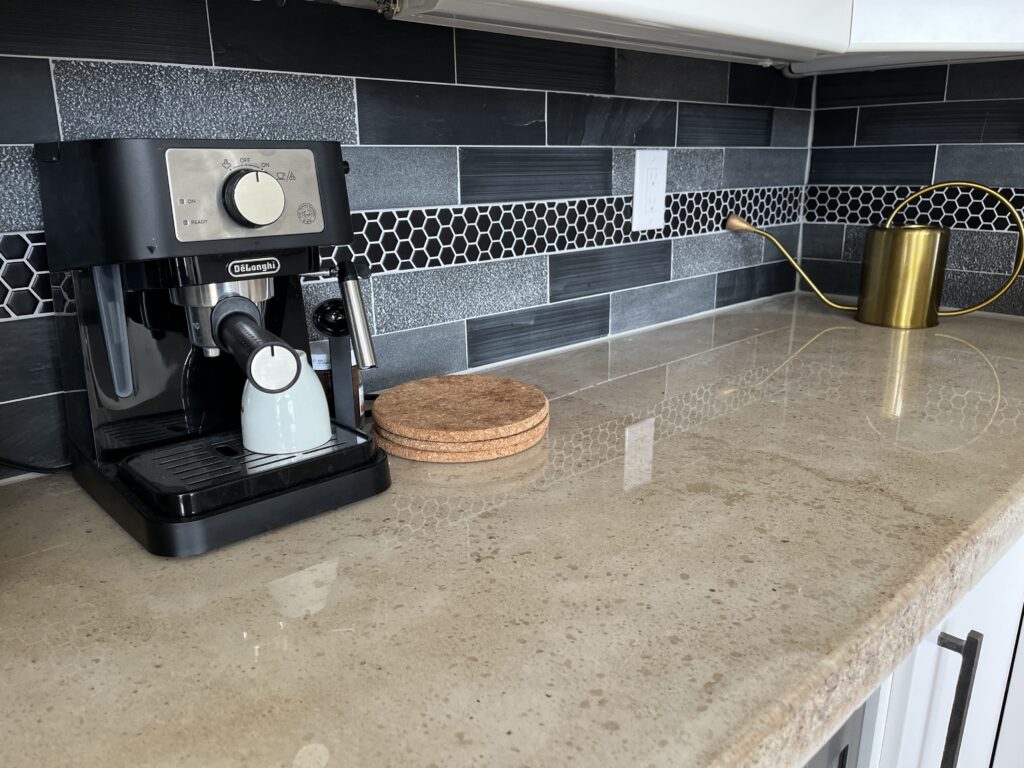
Now your beautiful, durable countertop is ready for use!
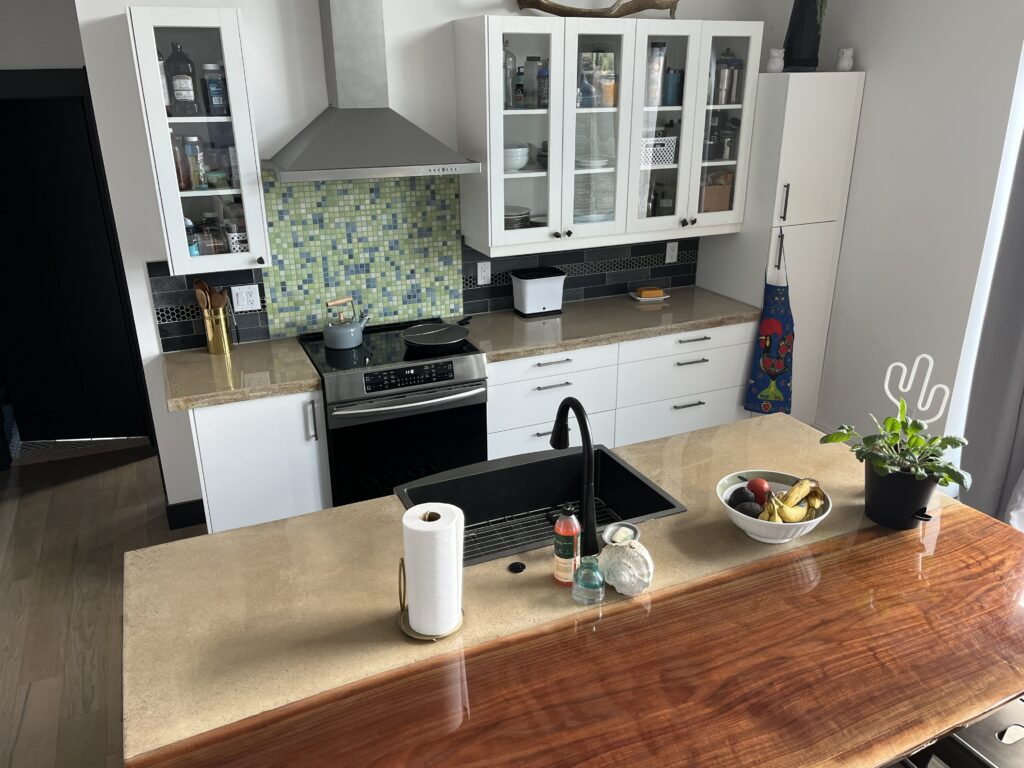
The finished product in our kitchen with the live edge black walnut bar top tied into the island.